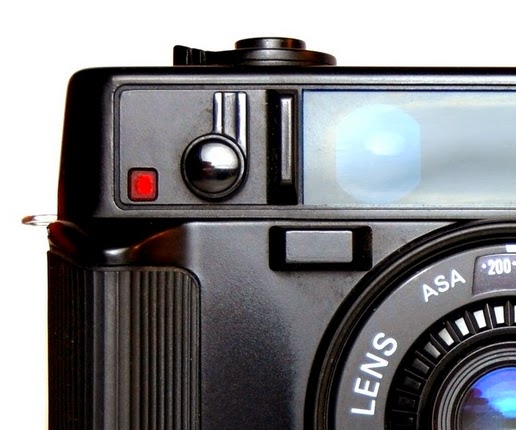
CameraMods: a video on how I put my Instax Wide 300 camera together
I believe I've done it. I've fitted my Schneider Kreuznach 105mm Radionar F4.5 onto the Fuji Instax Wide 300 camera.
But the assembly principle is sound. Lens filters, a lens hood, one homemade mini lensboard, a few paper or plastic spacers to tune the camera, and you're laughing.
To show you how I built mine, I've taken a shot by shot of how it breaks down. So, let's go (in reverse). The relevant text caption will be below each photograph, plus I'll put section breaks so that it's clear.

You have to find a way to attach the new lens barrel to the body of the camera.
You must prevent light leaks.
You must create the correct distance from the lens aperture to the film plane to achieve infinity focus and to have a properly adjusted front focussing element.
You have to find a way to attach the lens to the lens barrel or body. (I kept and hack sawed the original lens barrel in the end. I made a video of how it is assembled and will post it soon, JJ, Saturday, May 12.)
In this picture we have a camera with a scrap part from a zoom lens. It had sleeved into the camera. I believe it leaked light. So the series of images that follow will show me breaking the camera down and insert the original Instax Wide 300 lens barrel after some drastic modifications.

2. I used one UV filter 52mm as a barrel extension. I used another as a lensboard mount. The filter rings are assembled in reverse. That allows you to screw the filters in to the backwards lens hood which you see on the camera (HOYA 52mm - I'll address that fit of the lens hood below).

3. The Schneider Kreuznach lens was a good candidate because it had a front focusing element. That means I did not require a helicoid tube to focus the lens. The top left ring is the locking ring that keeps the lens attached to its lens board. On the top right is the UV filter being used as a barrel extension. On the bottom right is the lens board.

4. The lens board is made of three parts. You have to make your own disc with a hole that will allow the lens threads to pass through. Whatever you use, it needs to fit inside the threads of the lens filter. In fact to get the correct sizing, use the filter glass that you took out from the filter.
The filter glass is held by a retaining ring seen in the centre. I used a compass as a spanner to screw it out.
The lens board needs to be rigid and thin.

5. The lens filters were fitted backwards onto the Hoya lens hood. The filter thread DOESN'T need to be 52mm. What matters is the lens hood can fit snuggly over whatever emerges out of the camera body. The Fuji Instax Wide 300 lens barrel is approximately 57.25mm (this is a conversion from an Imperial Vernier caliper, ie inches,

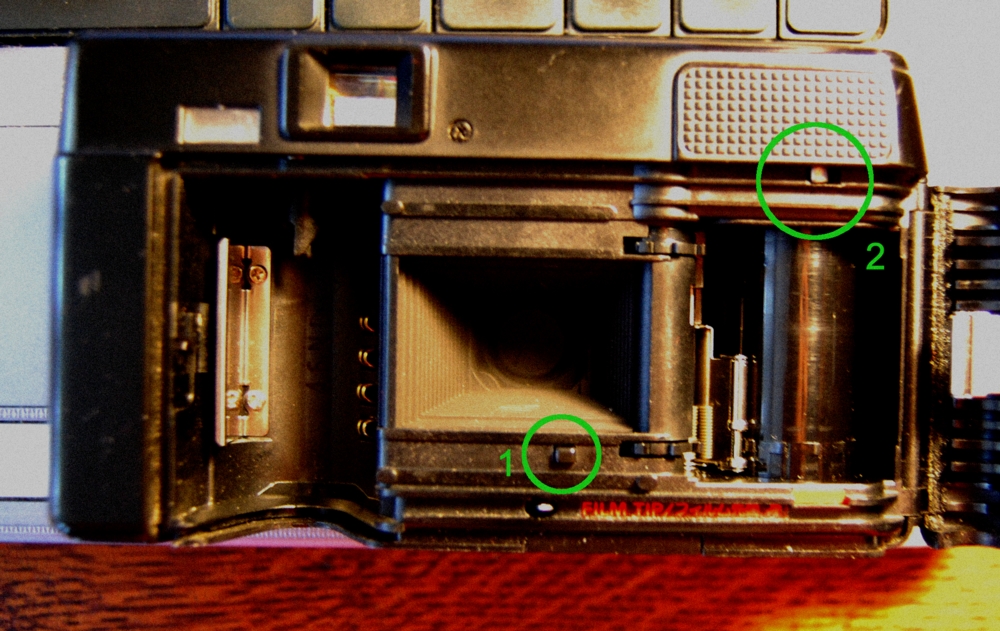
6. The lens hood fits over a part that is attached to the camera body. I call it a flange or a mount. Let's call it a mount from now own. In the above picture you can see the mount is attached by a screw. The screw goes into a small space between the light box (the chamber in front of the film plane) and checkered cap which originally allowed you to set the focus to either up close or far away.
Note, that checkered cap or cup is only glued onto the body right now. Luckily it does twist into three lugs. That's where I glued it.

7. So here is the leaky piece (I believe). On the right is the lens hood. On the left is the mount. See it doesn't have a flange or an L-section. It's just steps down so it can fit into the cup. Not exactly the best way to keep out light.

8. Here's another shot of the mount. I show it to documents the screws. You need something to screw the mount into the body. Otherwise your barrel will have no purchase or hold and your precious lens could fall onto the ground....NOOOOO! Knock on wood it hasn't happened to me yet.

9. So last night, I went back to the original lens barrel. I abandoned it because there was a lot of junk and obstructions in the barrel. See the series of barrel images below.


10. As you can see, the barrel has lots of crap inside of it. I had to get rid of it. In my first try, I used a hack saw to get rid of the extra stuff and even used the original lens protector as a lens mount. But the barrel was too long and I did not hack enough out. It was had to get the saw to cut close to the edge of the barrel. It led to some poor results.


11. You can see all the stuff inside the barrel and the chamber interfered with the image. There was both barrel intrusion and vignetting.

12. But I had to come back to the original lens barrel after my experiment with scrap part from the zoom lens. I bought a hole cutter and used a drill press. I bored out all the junk in the original barrel and did my best to cut the right length.
I drilled two holes at the right distance so that screws would lock it into the body and checkered cap as I did with the scrap part from the zoom lens. Sorry, I neglected to take a picture. But by now I'm sure you get the concept. PS if there is a better way to attached the filters and hood to the body, LET ME KNOW!

13. Finally, lens hood socked over lens mount and made snug with some tape, it was time to adjust the lens. The original lens for the Balda Baldalux actually had paper spacers. So thin. Between the lens board and the lens. I had to add some homemade plastic rings to get things right.
I will test the camera today.
Oh, here's an important point. You will NEED some spacers between the lens board and the lens no matter what. The edge of the filter ring that serves as your lensboard can interfere with some of your lens' function. On mine, without the right amount of spacers, the filter ring rubbed against the aperture lever. So watch out.
Okay, time to shoot. Wish me luck and wish me no light leaks.

Comments
Also check out https://theshuttergoesclick.blogspot.com/2018/06/cameramods-question-i-just-cant-sent-up.html
and
https://theshuttergoesclick.blogspot.com/search?q=ground+glass
A question about flash-light switching..
If I'll just make a switch button in one of flash-light wirе - will my camera work correctly? I mean... If I turn off the flash and shot a photo in a dark place - will camera think that the flash is on and take a too short shutter speed?
I hope for your help and SORRY MY ENGLISH
Paul